4.0 KiB
Pulling and Pushing Images in the Docker Client
NOTE: Harbor only supports the Registry V2 API. You must use Docker client 1.6.0 or higher.
Harbor optionally supports HTTP connections, however the Docker client always attempts to connect to registries by first using HTTPS. If Harbor is configured for HTTP, you must configure your Docker client so that it can connect to insecure registries. In your Docker client is not configured for insecure registries, you will see the following error when you attempt to pull or push images to Harbor:
Error response from daemon: Get https://myregistrydomain.com/v1/users/: dial tcp myregistrydomain.com:443 getsockopt: connection refused.
For information about how to add insecure registries to your Docker client, see Connecting to Harbor via HTTP in the Harbor Installation and Configuration Guide.
You also see this error if Harbor uses HTTPS with an unknown CA certificate. In this case, obtain the registry's CA certificate, and copy it to /etc/docker/certs.d/myregistrydomain.com/ca.crt.
Pulling Images
If the project that the image belongs to is private, you should sign in first:
sh
$ docker login 10.117.169.182
You can now pull the image:
sh
$ docker pull 10.117.169.182/library/ubuntu:14.04
Note: Replace "10.117.169.182" with the IP address or domain name of your Harbor node. You cannot pull an unsigned image if you enabled content trust.
Pushing Images
Before pushing an image, you must create a corresponding project on Harbor web UI.
First, log in from Docker client:
sh
$ docker login 10.117.169.182
Tag the image:
sh
$ docker tag ubuntu:14.04 10.117.169.182/demo/ubuntu:14.04
Push the image:
sh
$ docker push 10.117.169.182/demo/ubuntu:14.04
Note: Replace "10.117.169.182" with the IP address or domain name of your Harbor node.
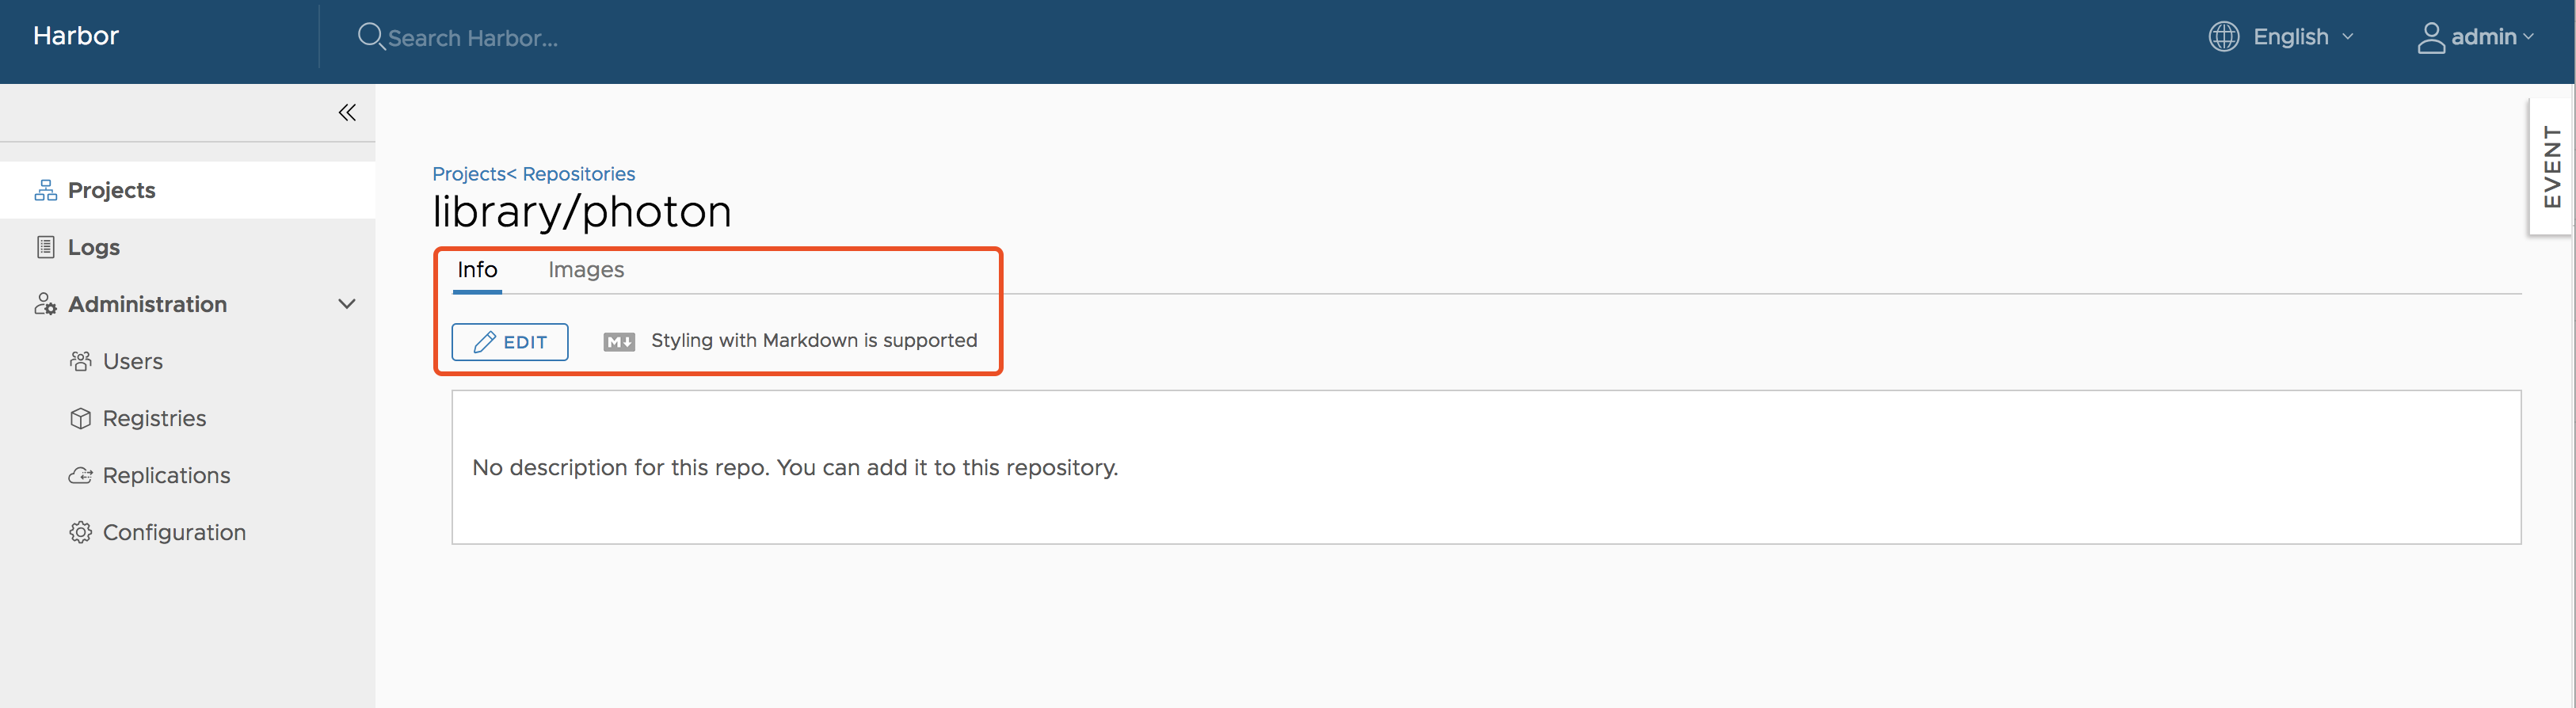
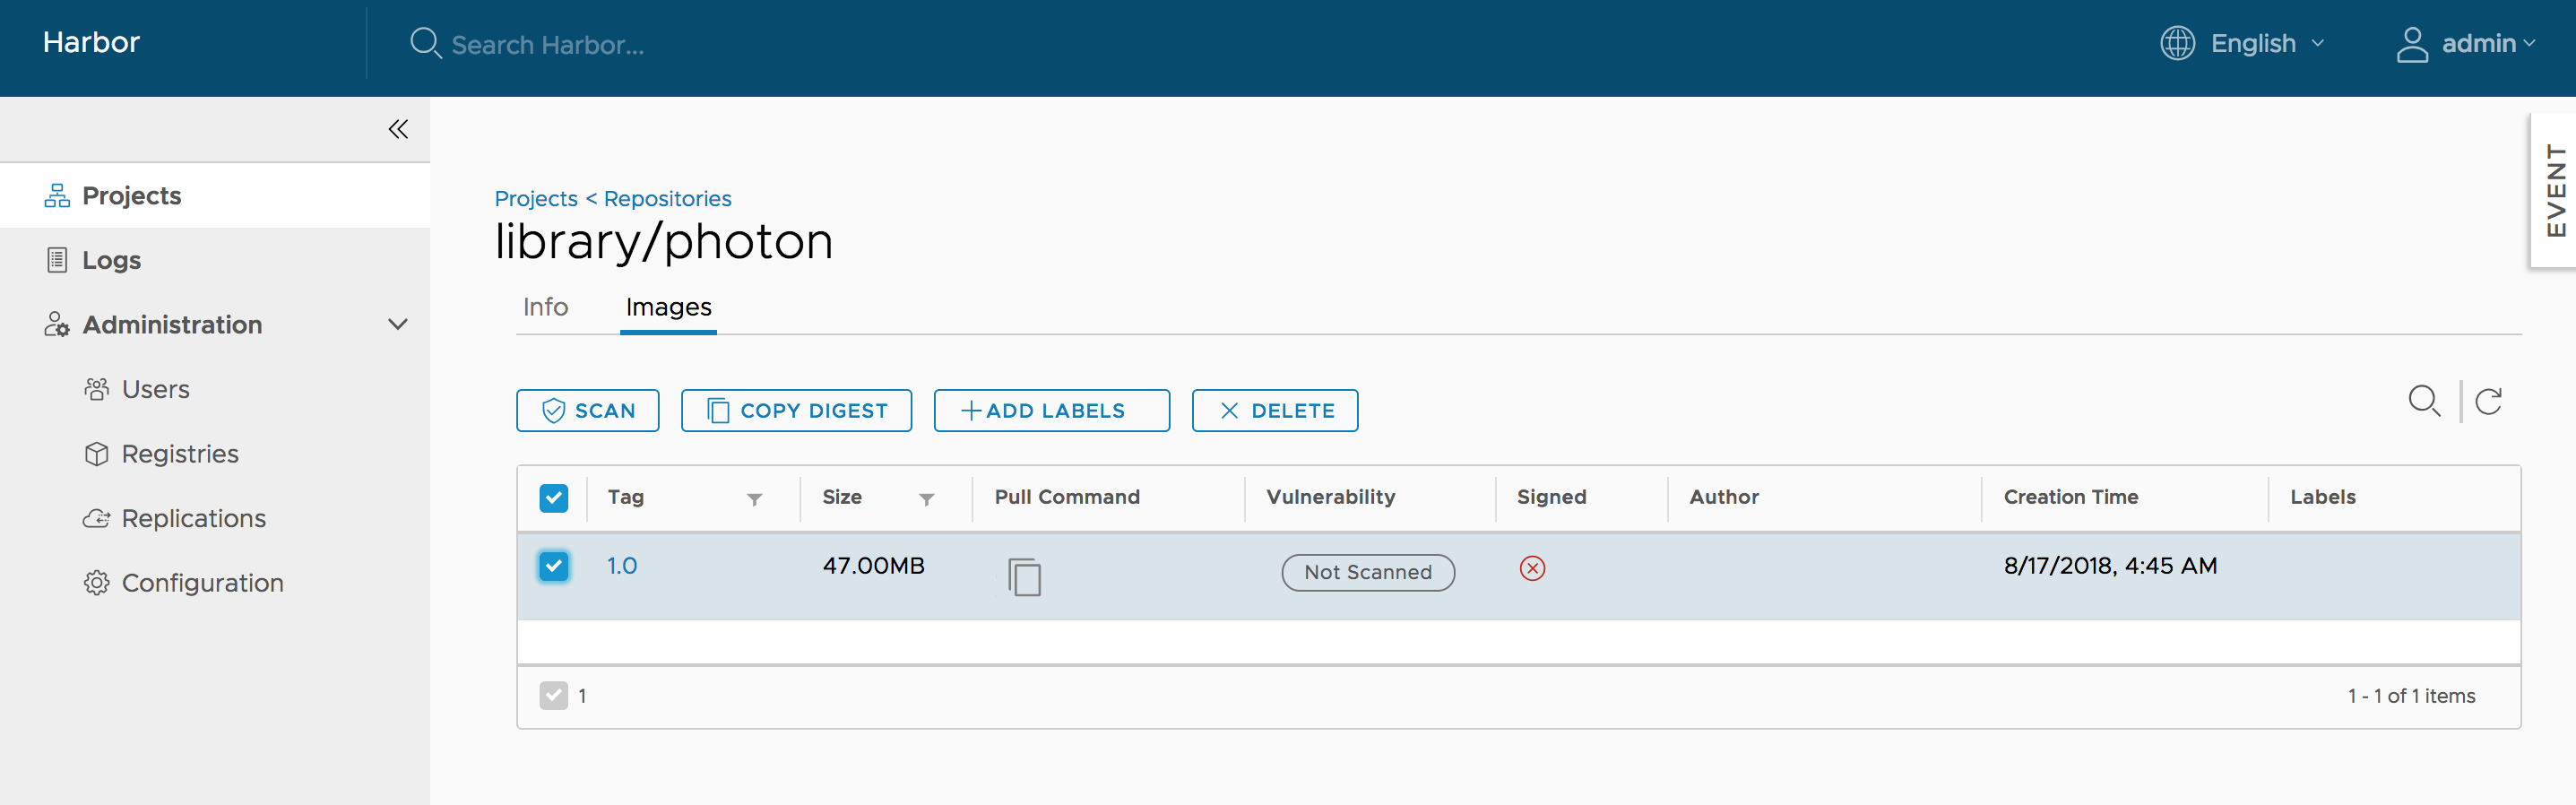
Add Descriptions to Repositories
After pushing an image, an Information can be added by project admin to describe this repository.
Go into the repository and select the "Info" tab, and click the "EDIT" button. An textarea will appear and enter description here. Click "SAVE" button to save this information.
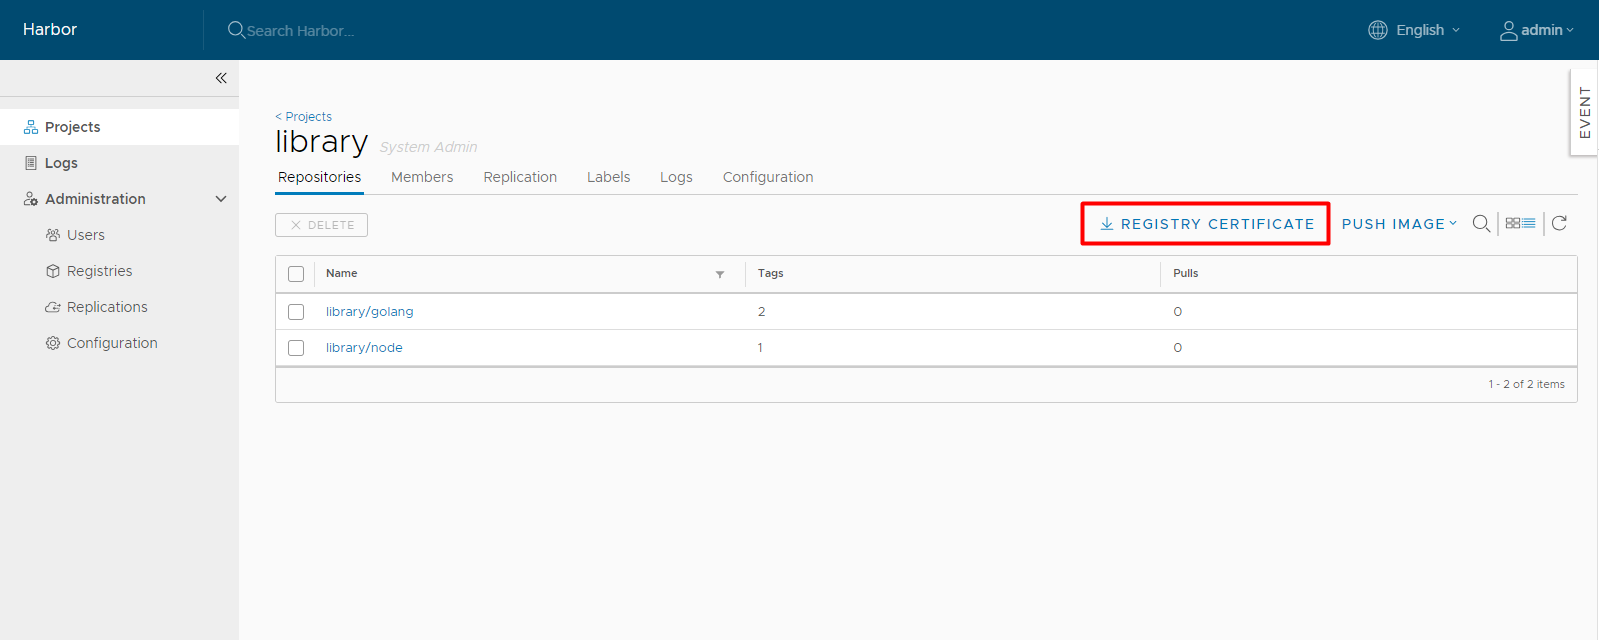
Download the Harbor Certificate
Users can click the "registry certificate" link to download the registry certificate.
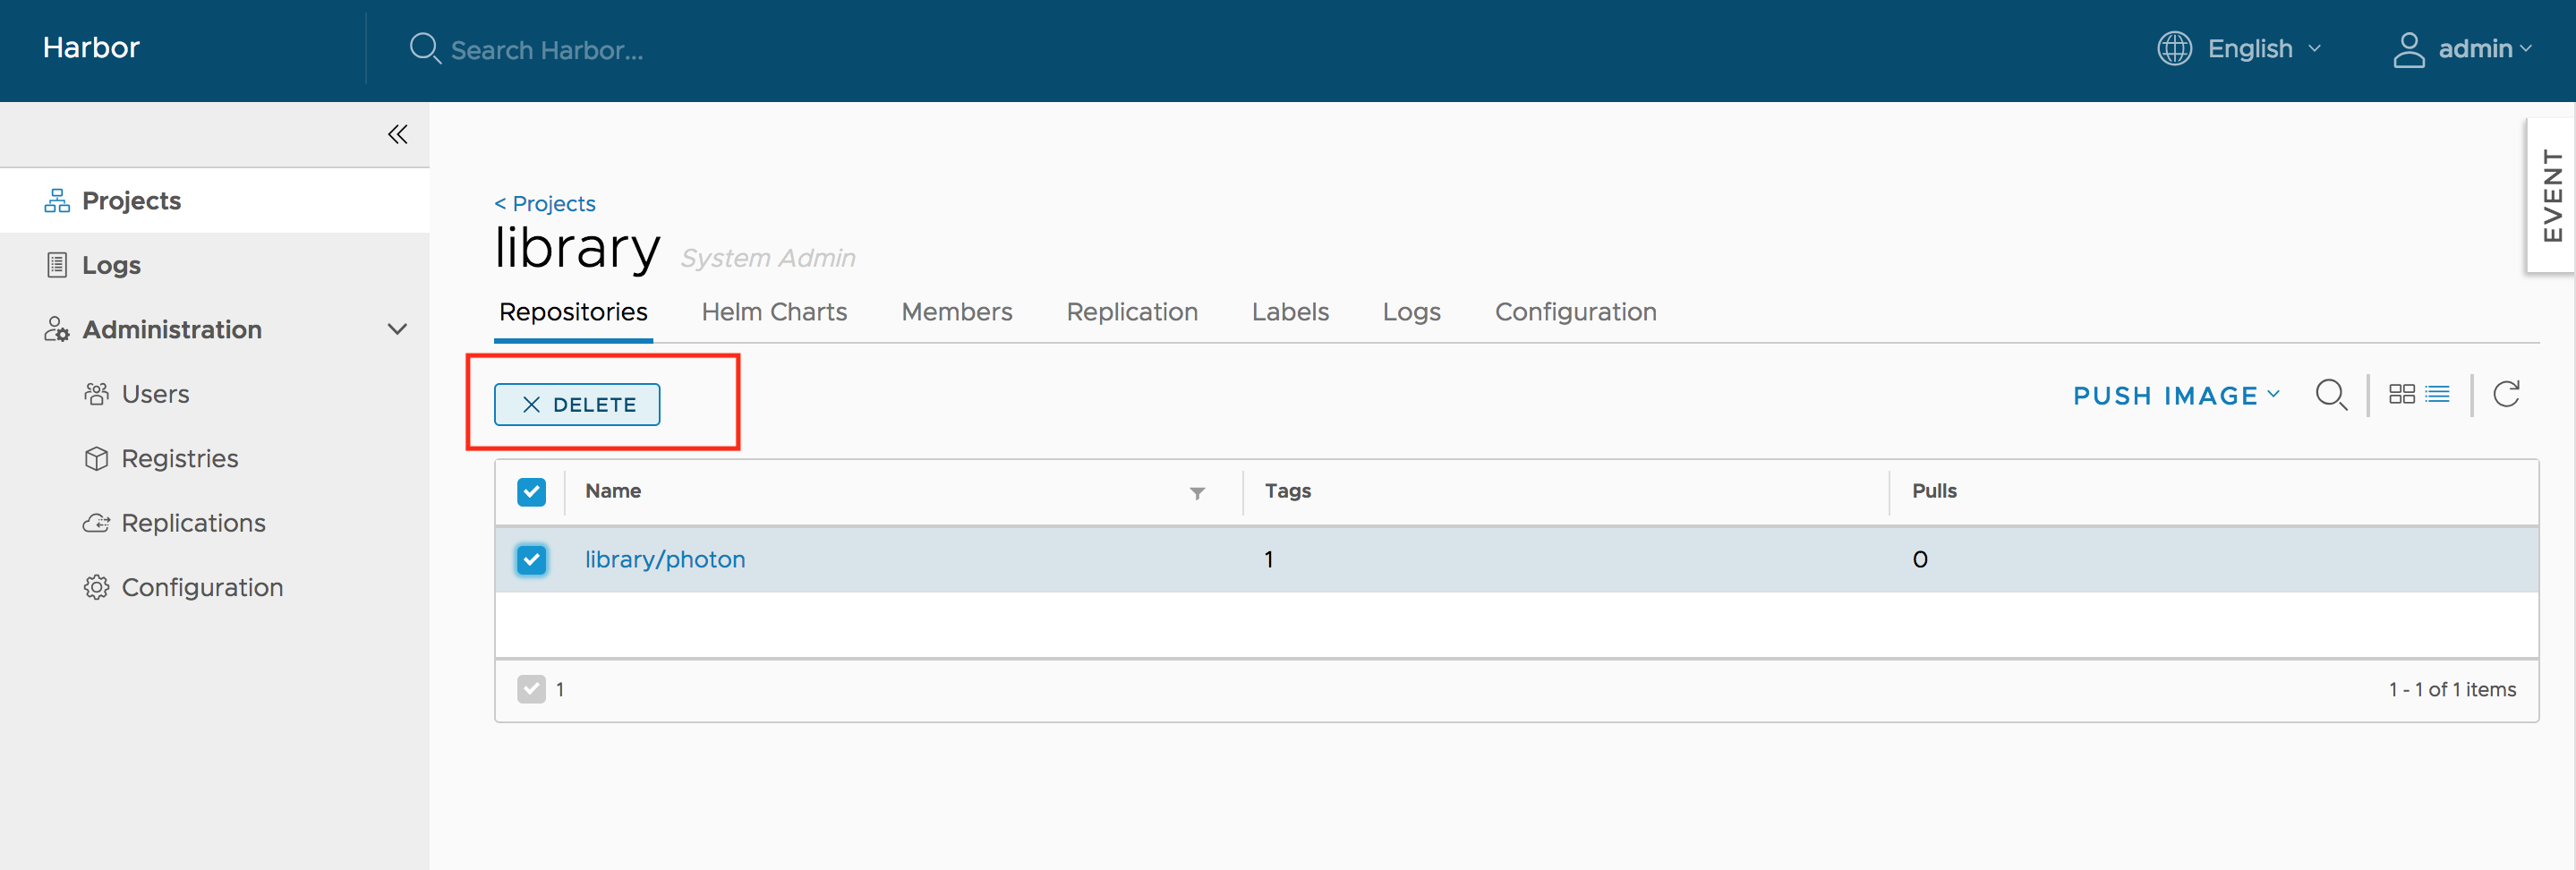
Deleting Repositories
Repository deletion runs in two steps.
First, delete a repository in Harbor's UI. This is soft deletion. You can delete the entire repository or just a tag of it. After the soft deletion, the repository is no longer managed in Harbor, however, the files of the repository still remain in Harbor's storage.
CAUTION: If both tag A and tag B refer to the same image, after deleting tag A, B will also get deleted. if you enabled content trust, you need to use notary command line tool to delete the tag's signature before you delete an image.
Next, delete the actual files of the repository using the garbage collection in Harbor's UI.
Pulling Images from Harbor in Kubernetes
Kubernetes users can easily deploy pods with images stored in Harbor. The settings are similar to that of another private registry. There are two major issues:
- When your Harbor instance is hosting http and the certificate is self signed. You need to modify daemon.json on each work node of your cluster, for details please refer to: https://docs.docker.com/registry/insecure/#deploy-a-plain-http-registry
- If your pod references an image under private project, you need to create a secret with the credentials of user who has permission to pull image from this project, for details refer to: https://kubernetes.io/docs/tasks/configure-pod-container/pull-image-private-registry/