mirror of
https://github.com/goharbor/harbor.git
synced 2024-11-01 08:09:59 +01:00
- create API folder
- move harbor API swagger file to API/harbor
- add scanner adapter open API swagger file to API/scanner
- update protal build Dockerfile
- update swagger explorer build command in Makefile

Signed-off-by: Steven Zou <szou@vmware.com>
3.1 KiB
3.1 KiB
View and test Harbor REST API via Swagger
A Swagger file is provided for viewing and testing Harbor REST API.
Viewing Harbor REST API
- Open the file swagger.yaml under the docs directory in Harbor project;
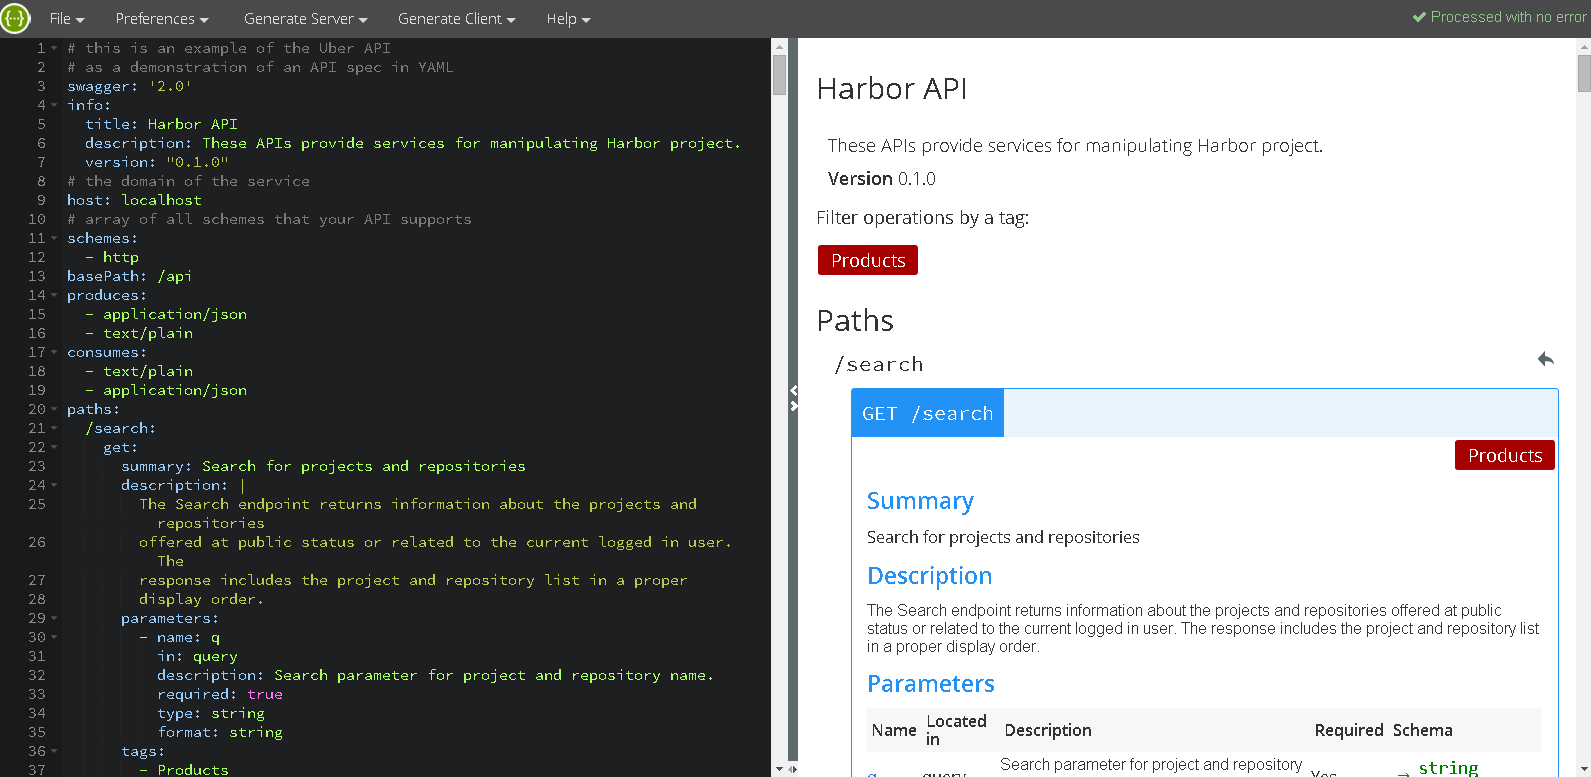
- Paste all its content into the online Swagger Editor at http://editor.swagger.io. The descriptions of Harbor API will be shown on the right pane of the page.
Testing Harbor REST API
From time to time, you may need to mannually test Harbor REST API. You can deploy the Swagger file into Harbor's service node. Suppose you install Harbor through online or offline installer, you should have a Harbor directory after you un-tar the installer, such as ~/harbor.
Caution: When using Swagger to send REST requests to Harbor, you may alter the data of Harbor accidentally. For this reason, it is NOT recommended using Swagger against a production Harbor instance.
- Download prepare-swagger.sh and swagger.yaml under the docs directory to your local Harbor directory, e.g. ~/harbor.
wget https://raw.githubusercontent.com/goharbor/harbor/master/docs/prepare-swagger.sh https://raw.githubusercontent.com/goharbor/harbor/master/API/harbor/swagger.yaml
- Edit the script file prepare-swagger.sh.
vi prepare-swagger.sh
- Change the SCHEME to the protocol scheme of your Harbor server.
SCHEME=<HARBOR_SERVER_SCHEME>
- Change the SERVER_IP to the IP address of your Harbor server.
SERVER_IP=<HARBOR_SERVER_DOMAIN>
- Change the file mode.
chmod +x prepare-swagger.sh
- Run the shell script. It downloads a Swagger package and extracts files into the ../static directory.
./prepare-swagger.sh
- Edit the docker-compose.yml file under your local Harbor directory.
vi docker-compose.yml
- Add two lines to the file docker-compose.yml under the section ui.volumes.
...
ui:
  ...
  volumes:
    - ./common/config/ui/app.conf:/etc/core/app.conf:z
    - ./common/config/ui/private_key.pem:/etc/core/private_key.pem:z
    - /data/secretkey:/etc/core/key:z
    - /data/ca_download/:/etc/core/ca/:z
    ## add two lines as below ##
    - ../src/ui/static/vendors/swagger-ui-2.1.4/dist:/harbor/static/vendors/swagger
    - ../src/ui/static/resources/yaml/swagger.yaml:/harbor/static/resources/yaml/swagger.yaml
    ...
- Recreate Harbor containers
docker-compose down -v && docker-compose up -d
- Because a session ID is usually required by Harbor API, you should log in first from a browser.
- Open another tab in the same browser so that the session is shared between tabs.
- Enter the URL of the Swagger page in Harbor as below. The
<HARBOR_SERVER>should be replaced by the IP address or the hostname of the Harbor server.
http://<HARBOR_SERVER>/static/vendors/swagger/index.html
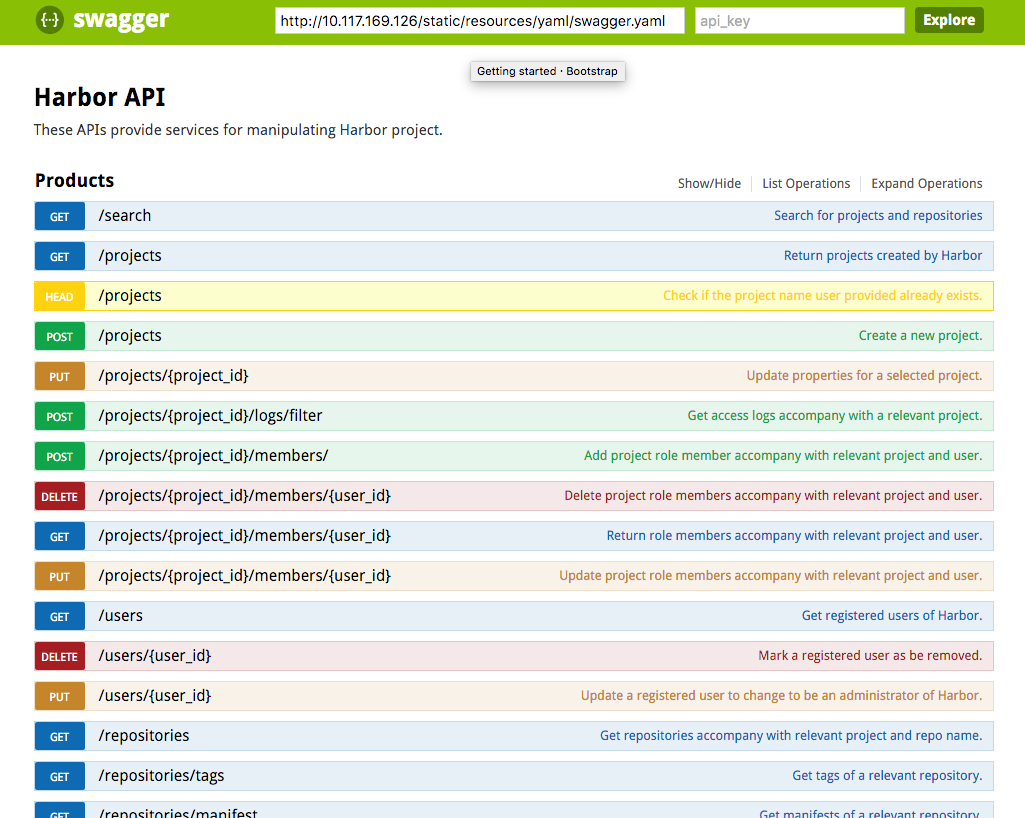
- You should see a Swagger UI page with Harbor API swagger.yaml file loaded in the same domain, be aware that your REST request submitted by Swagger may change the data of Harbor.

